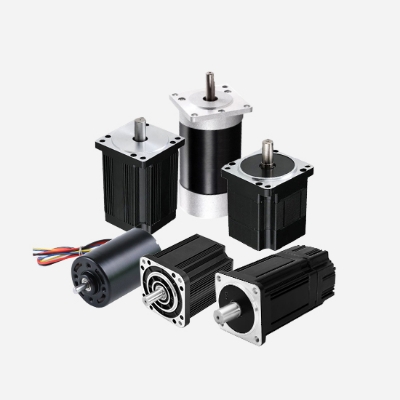
A brushless DC motor consists of a motor body and driver, which is a typical mechatronic product. Since the 3-phase brushless DC motor operates in a self-controlled manner, it does not add another starting winding to the rotor like a synchronous motor that starts under heavy load with frequency regulation, nor does it produce oscillation and lost step when the load changes suddenly.
Noticing some issues regarding your BLDC electric motor? Maybe whenever you connect it to the main circuit, it doesn’t rotate. So, today we will talk about how to test a BLDC motor with a multimeter.
Before testing the DC brushless motor, prepare the multimeter, check whether the multimeter is available, and then set it to the appropriate gear.
4 Easy Steps to Test Brushless Motors with a Multimeter
It's a good thing to regularly test brushless DC motors and track their performance. Give your brushless motor a full check with a multimeter and follow the instructions carefully.
Step 1: Check Resistor Values
- Disconnect all power connections and amplifiers from the drive. Keep the motor's cable connected to it.
- Get out your multimeter and set it to ohm test mode. Connect the two test probes to their specific jacks. The black one goes to "Com" and the red one goes to the "Ohms" jack. Adjust the multimeter pointer to zero.
- Taking the reading of the three lines with the probe. Mark the three lines A, B, and C, respectively. The test phases should be done in order -- AB, BC, CA.
- The reading should show infinity, which means there is no problem with the motor. But if it shows 0 or reads any continuity, it means there is a problem with the motor.
Always remember to keep the leads of the multimeter separate. Nor should they touch any other cables. Otherwise, they won't work properly.
Step 2: Find the Problem with Open and Shorted Windings
The windings of a brushless motor may be open or shorted. An open winding means that the motor windings are damaged or separated. A short circuit in the winding means the insulation has failed. You can find these problems with a multimeter.
Check the connection of line A to line B, line B to line C, and line C to line A. These lines should range from 0.3 ohms to 0.8 ohms on average. If the reading shows 0, this indicates a short circuit between the phases. If the reading shows 2000 ohms or infinity, this indicates an open winding.
Step 3: Check the Insulation System
The megohm reading is used to see if the motor is grounded. In addition, it can also see whether the insulation system of the brushless motor is good.
- At this time, just change the red probe of the multimeter to the megohmmeter jack.
- You need to supply 1000 rpm of input power to your motor. To do this, you'll need to hook up your motor with a good quality larger brushless motor.
- After powering the motor, check all three wires in a similar fashion. The reading will show a number between 600-2000 megohms. Short circuit must be less than 20 megohms. Now, here's a rule of thumb, if it reads below 600 megohms, it's a sign of damage to the cable.
Step 4: Check Amperage
By checking the amperage, you will know where the current is going in the brushless motor.
- Plugging the red probe of the multimeter into the "amp" jack.
- Connecting the multimeter to the motor circuit.
- Putting the probe on the power cord.
If the readings keep changing, there is a serious problem with the brushless motor.
To avoid these internal problems, check regularly for any faulty parts of the brushless motor. This completes your test of the brushless motor. Now you know how handy a multimeter can sometimes be.